Is half the fun. Said someone who never really worked on their own boat! I am getting there for this season, but I can’t say it’s been fun. Lots of trips back and forth and an unexpected snag to take care of.
The first item I took care of was the starboard engine oil pressure sensor. It had been indicating 30 pounds of oil pressure without the engine running, so it was time to replace it. I did the port side last year when I had the after-coolers off and it was fairly easy. This time, they were installed, so I would have to work around that. But at least I would be between the engines and not leaning over one. As it turns out, it was easier than I expected. All I needed to do was remove the raw water pump discharge hose, push the fuel oil cooler out of the way and remove a plate from the engine electronics mount. Access was still tight to the sensor (and I left a wrench at home), but in a short time, I had the sensor changed. One down, what’s next?
Glare at the helm. The large windows allow quite a bit of light in. They are great for visibility, but with a gleaming white finish, there is such a reflection in the windows that it can be hard to see out. The first year we had the boat, I used dark towels and that worked very well. But getting the towels in place proved harder to execute because of the area involved. Our arms are just not long enough to place the towels.
Last season, I purchased some black rubber gasket material and cut it into shape. It was much easier to put in position, but the rubber itself was shiny and reflected sunlight up into the window. On to plan “C.” This year, I bought three sections of black foam board and used the rubber I had previously cut as a template to try another approach. I taped two sections together and since they are rigid, it is very easy to put them in place. Time will tell if this is a good solution or not. The next step, if needed, would be to paint the area with a black satin paint. Not something I really want to do, but I will if I need to. A black gelcoat was an option that the original owner did not order. Next!
This problem was unexpected. Last fall, I noticed a little delamination in the fiberglass exhaust tube right where it exited the hull at the transom. Not a big deal and I figured a little epoxy would fill that right in. However, the damage was a bit more extensive than I realized. Once the shrink wrap came off and I took a good look at the damaged area, I knew I had to make a better repair. That tube is only about one-eighth of an inch thick. At rest, it is completely submerged and underway, there is a large volume of engine cooling seawater flowing through it. If it leaks, there’s a high potential to take on water.
\I started wondering what could have caused this in the first place, so it does not happen again. Animal damage? Some boats have had raccoons up inside them over the winter, causing damage, but not in the exhaust pipe and not like this. Raccoons have made a mess and I’ll leave it at that. No, after studying the damage, I believe it was caused by a power washer. In the fall, the staff power washes the hull to remove marine growth, including barnacles. There were still barnacle remnants around the exhaust outlet and even inside the exhaust tube. I also realized that there was never any bottom paint on the exhaust outlet, which just invited marine growth there.
So, to fix the pipe, the first thing I did was to sand all the loose fiberglass strands off using a drill-powered drum sander and then do some hand sanding. After I got the damaged area smooth, I made sure there was no more evidence of barnacle growth inside the tube. I purchased a six-inch long piece of six-inch diameter exhaust tubing and cut it in two at an angle. The existing tube in the boat is also six inches. I figured if I cut it in a certain way, I could insert it into the existing tube and it would be a tight fit.
So once all the sanding was done and multiple test fits and additional trimming, I epoxied the area that was damaged and covered the area where my repair piece would fit into. The new piece slipped into the exhaust tube and opened up, making a nice, tight fit. I then took more epoxy and feathered it into all the open edges, making sure this new piece was sealed in tight. I was a little concerned about the overnight temperature getting lower than recommended for the epoxy to cure, but when I went and checked the next day, it had hardened nicely and when I hit the repair with a hammer, it was solid as could be. Next season, when it’s time to haul out, I will make sure this does not happen again by placing empty anti-freeze jugs in the pipe. Be aware of the damage that a power washer can cause!
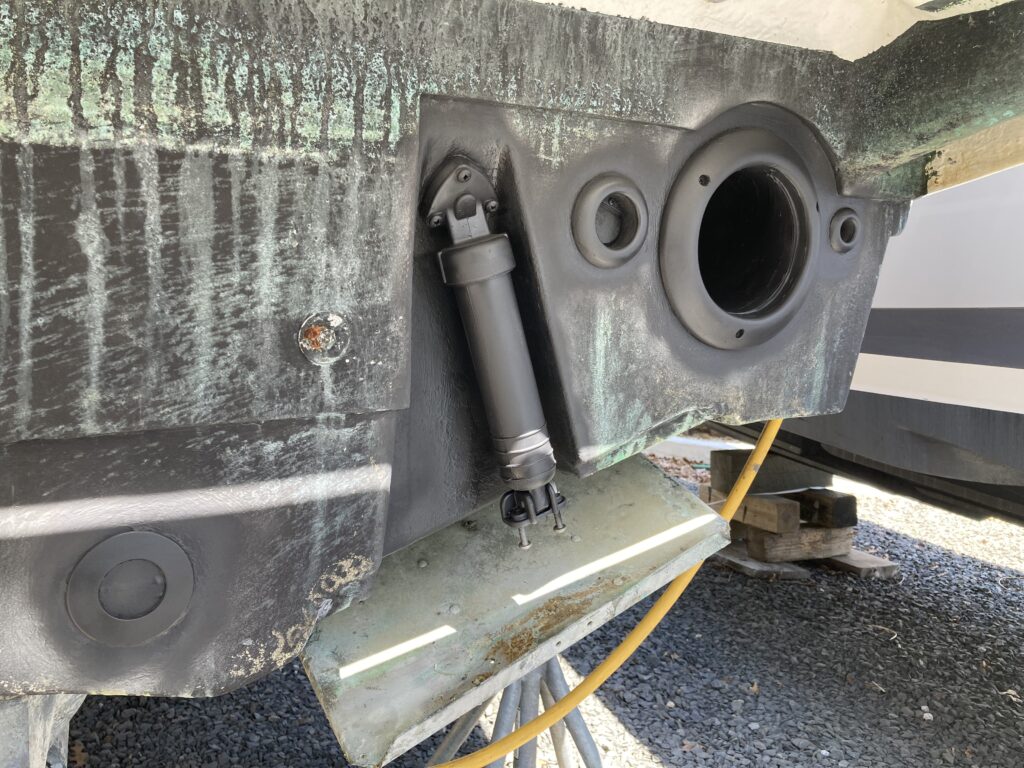
To help keep that area, the trim tab cylinders and other spots free of growth, I wanted to paint them with anti-fouling paint. So, after more sanding and then a coat of primer, I did get a few coats of black anti-fouling paint on, including as far into the exhaust pipe as I could reach!
Before we go in the water, there are a few more things to get done. I have to clean and paint the shafts, struts and rudders and install new zincs. And then it’s time to wash and wax. Are we having fun yet?